A STEP-BY-STEP GUIDE TO SETTING UP PAYSTACK AND INTEGRATING WITH TROVA
Watch the instruction video or use the step-by-step guide to get your client payments flowing!
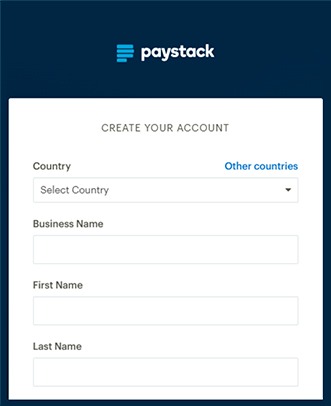
Creating Your Paystack Account
Step 2
Verify Your Paystack Account
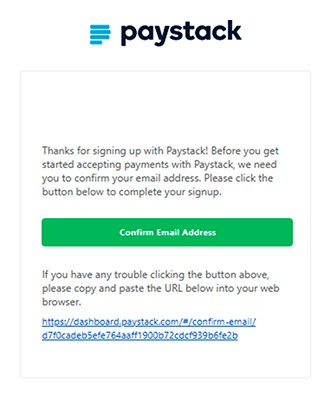
Check your email, in a new tab (including your spam folder) for an email from Paystack. Inside the email, locate the confirmation link and click on it to verify your email address.
Step 3
Login To Your New Paystack Account
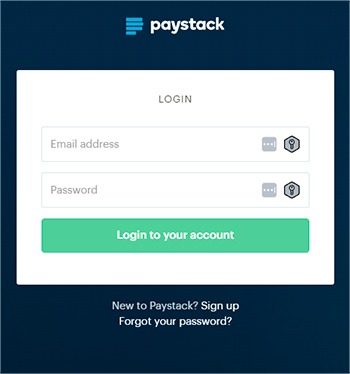
After clicking the link in your email,
you will be redirected to the Paystack login page.
Completing the compliance section
for your Paystack account
After logging into your Paystack account, you’ll be directed to the compliance section of the dashboard.
*Please note, your Paystack account will be in Test Mode until all compliance forms have been uploaded and accepted by Paystack.
Step 1
Profile
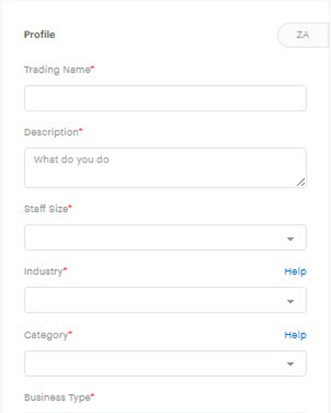
Provide basic information about your business, including industry, the number of employees, and a brief company description.
Step 2
Contact
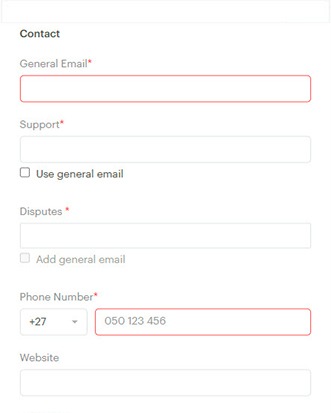
Enter your business email(s), phone number, address and business address that matches your registration address.
Step 3
Owner
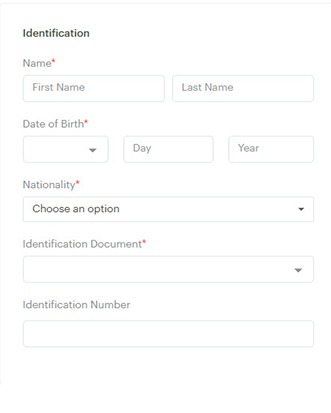
Provide your personal information. You’ll need to upload an identification document and proof of address.
Step 4
Account
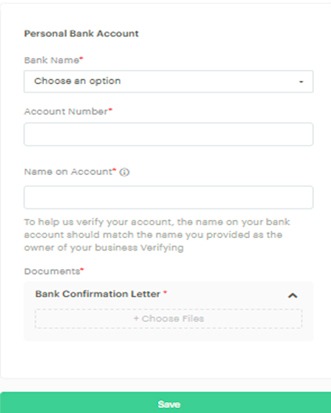
“Provide the bank account details to the account you want to receive client payments in to. You will need to upload a bank confirmation letter.
Step 5
Activate Account
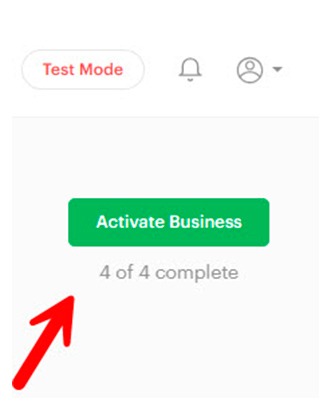
Once you’ve completed all compliance steps, click “Activate Business” located at the top right side of the Paystack dashboard.
Paystack verification takes up to 24 hours, in the meantime you should continue your set up by following the steps below.
Last step!
Connecting Paystack to Trova
Step 1
Go to Settings in your Paystack Account
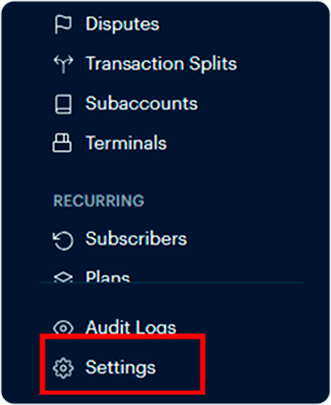
Navigate to the “Settings” menu in the bottom left of the screen. If you logged out, no worries, just log back in to your Paystack account.
Step 2
Find your personalized Paystack keys
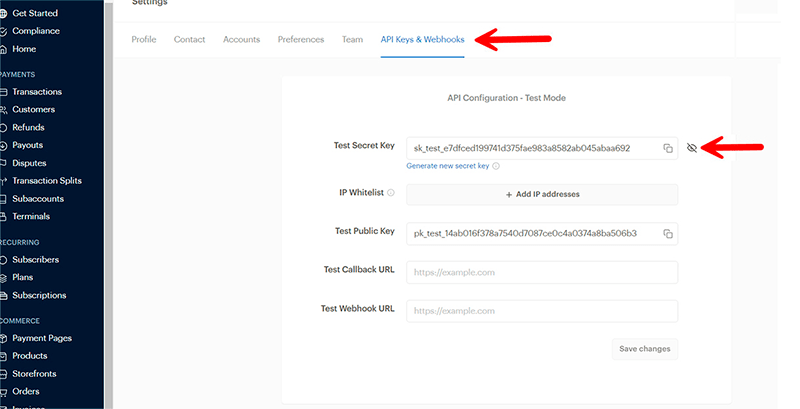
Click on the “API Keys & Webhooks” tab. Click on the (eye symbol) next to the “Secret Key” line. You will COPY and PASTE these keys into your Trova platform. Don’t close this screen.
Step 3
Go to Profile Settings in Trova
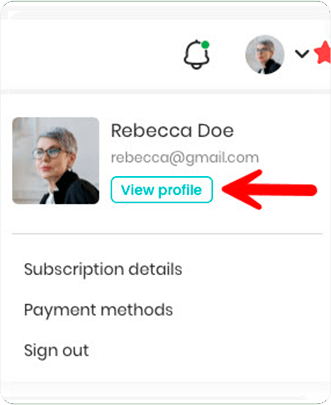
In your Trova homepage, you will see your profile up in the top right corner. Click that and select “Payment Settings”.
Step 4
Retrieve API Keys from Paystack
website.
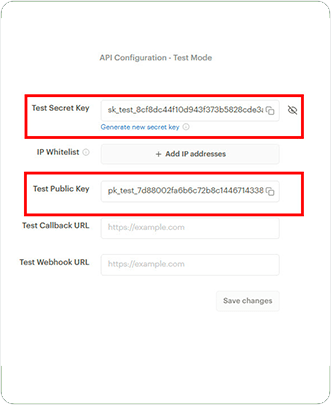
Return to Paystack screen you were just on. You will now copy the secret key and paste it in the Secret Key section in the Payment Settings for Trova. Repeat this copy and paste step for the Public Key.
Step 5
Configure Payment Settings in
Trova platform.
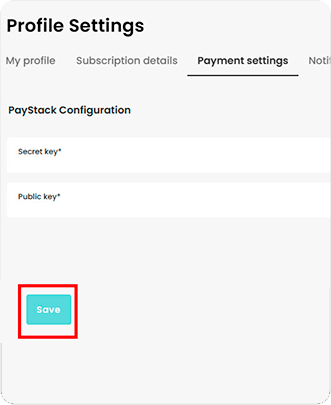
Return to the Trova platform and paste the secret key code into the appropriate field. Repeat with Public Key. Press Save at the bottom of the screen to save your settings.
Congratulations!
You’ve successfully connected your Paystack and Trova accounts, and you can soon start receiving payments from clients.
Keep an eye on your email for Paystack emails regarding your account verification and the ability to start receiving payments.
*Please note, you can unsubscribe at any time from Paystack emails you may get. Those are unnecessary for you to use the platform in Trova.


